
Lemony Lemon Bars

I grew up eating box-mixed lemon bars that offered sweet fillings which little resembled the fruit of their namesake. It wasn’t until college that I made my first homemade batch, and while they weren’t perfect by any means, I haven’t had a boxed bar since. Recently a friend said, “lemon bars are so good but so easy to get wrong!” He couldn’t have been more right. But after years of searching and testing for the perfect recipe, I’ve think finally found the right one!
I like my lemon bars with oomph, toeing the line between sweet and tart. I want a lemon filling that’s bright, zingy and smooth on top of a rich buttery shortbread crust to balance some of that citrusy tang. I want a bar that packs a punch and satisfies a sweet tooth at the same time. Bars that are unapologetically tart like real lemons.
If I’m speaking your language, these are the bars for you. And when you make them, you might consider doubling the lemon custard recipe while you’re at it. The custard is amazing spread on morning toasts, filled in crepes topped with fresh blueberries, or, my personal favorite, spooned into a bowl of vanilla bean ice cream.

Just looking at these photos makes my mouth water as if I just sucked on a lemon wedge. I hope they bring you bright and zippy lemony sunshine with every bite!

The Recipe
Makes one 8x8-inch pan (about 16 bars)
This recipe has been modified from Serious Eats; ingredients and language were slightly adapted.
Ingredients
Crust
1 cup + 1 scant tablespoon (4½ ounces; 130g) all-purpose flour (🔥Flour Police)
½ cup (2 ounces; 60g) powdered sugar
¼ teaspoon (1g) kosher salt or ⅛ teaspoon (1g) table salt (🔥Seriously Salty)
1 tablespoon (⅛ ounce; 4g) freshly grated lemon zest (🔥Gold Digger)
1 stick (4 ounces; 115g) cold unsalted butter, cut into ¼-inch cubes
For the Custard:
3 whole large eggs, plus 8 egg yolks, cold
1 ⅓ cups (9 ½ ounces; 270g) granulated sugar (🔥Sweet or Sour)
Pinch of kosher salt (🔥Fun Fact)
1 packed tablespoon (¼ ounce; 8g) freshly grated lemon zest
1 ⅓ cups (11 ounces; 310g) lemon juice, from about 8 large lemons (🔥Pack A Punch)
Instructions
Make the crust: ( 🎩Time Warp)
Arrange an oven rack to the middle position, then preheat the oven to 350°F, convect if you have that option. Line a 8x8-inch metal baking pan (🎩 Material Matters) with a piece of parchment paper long enough to overhang two of the pan's edges and wide enough to just cover the bottom of the pan.
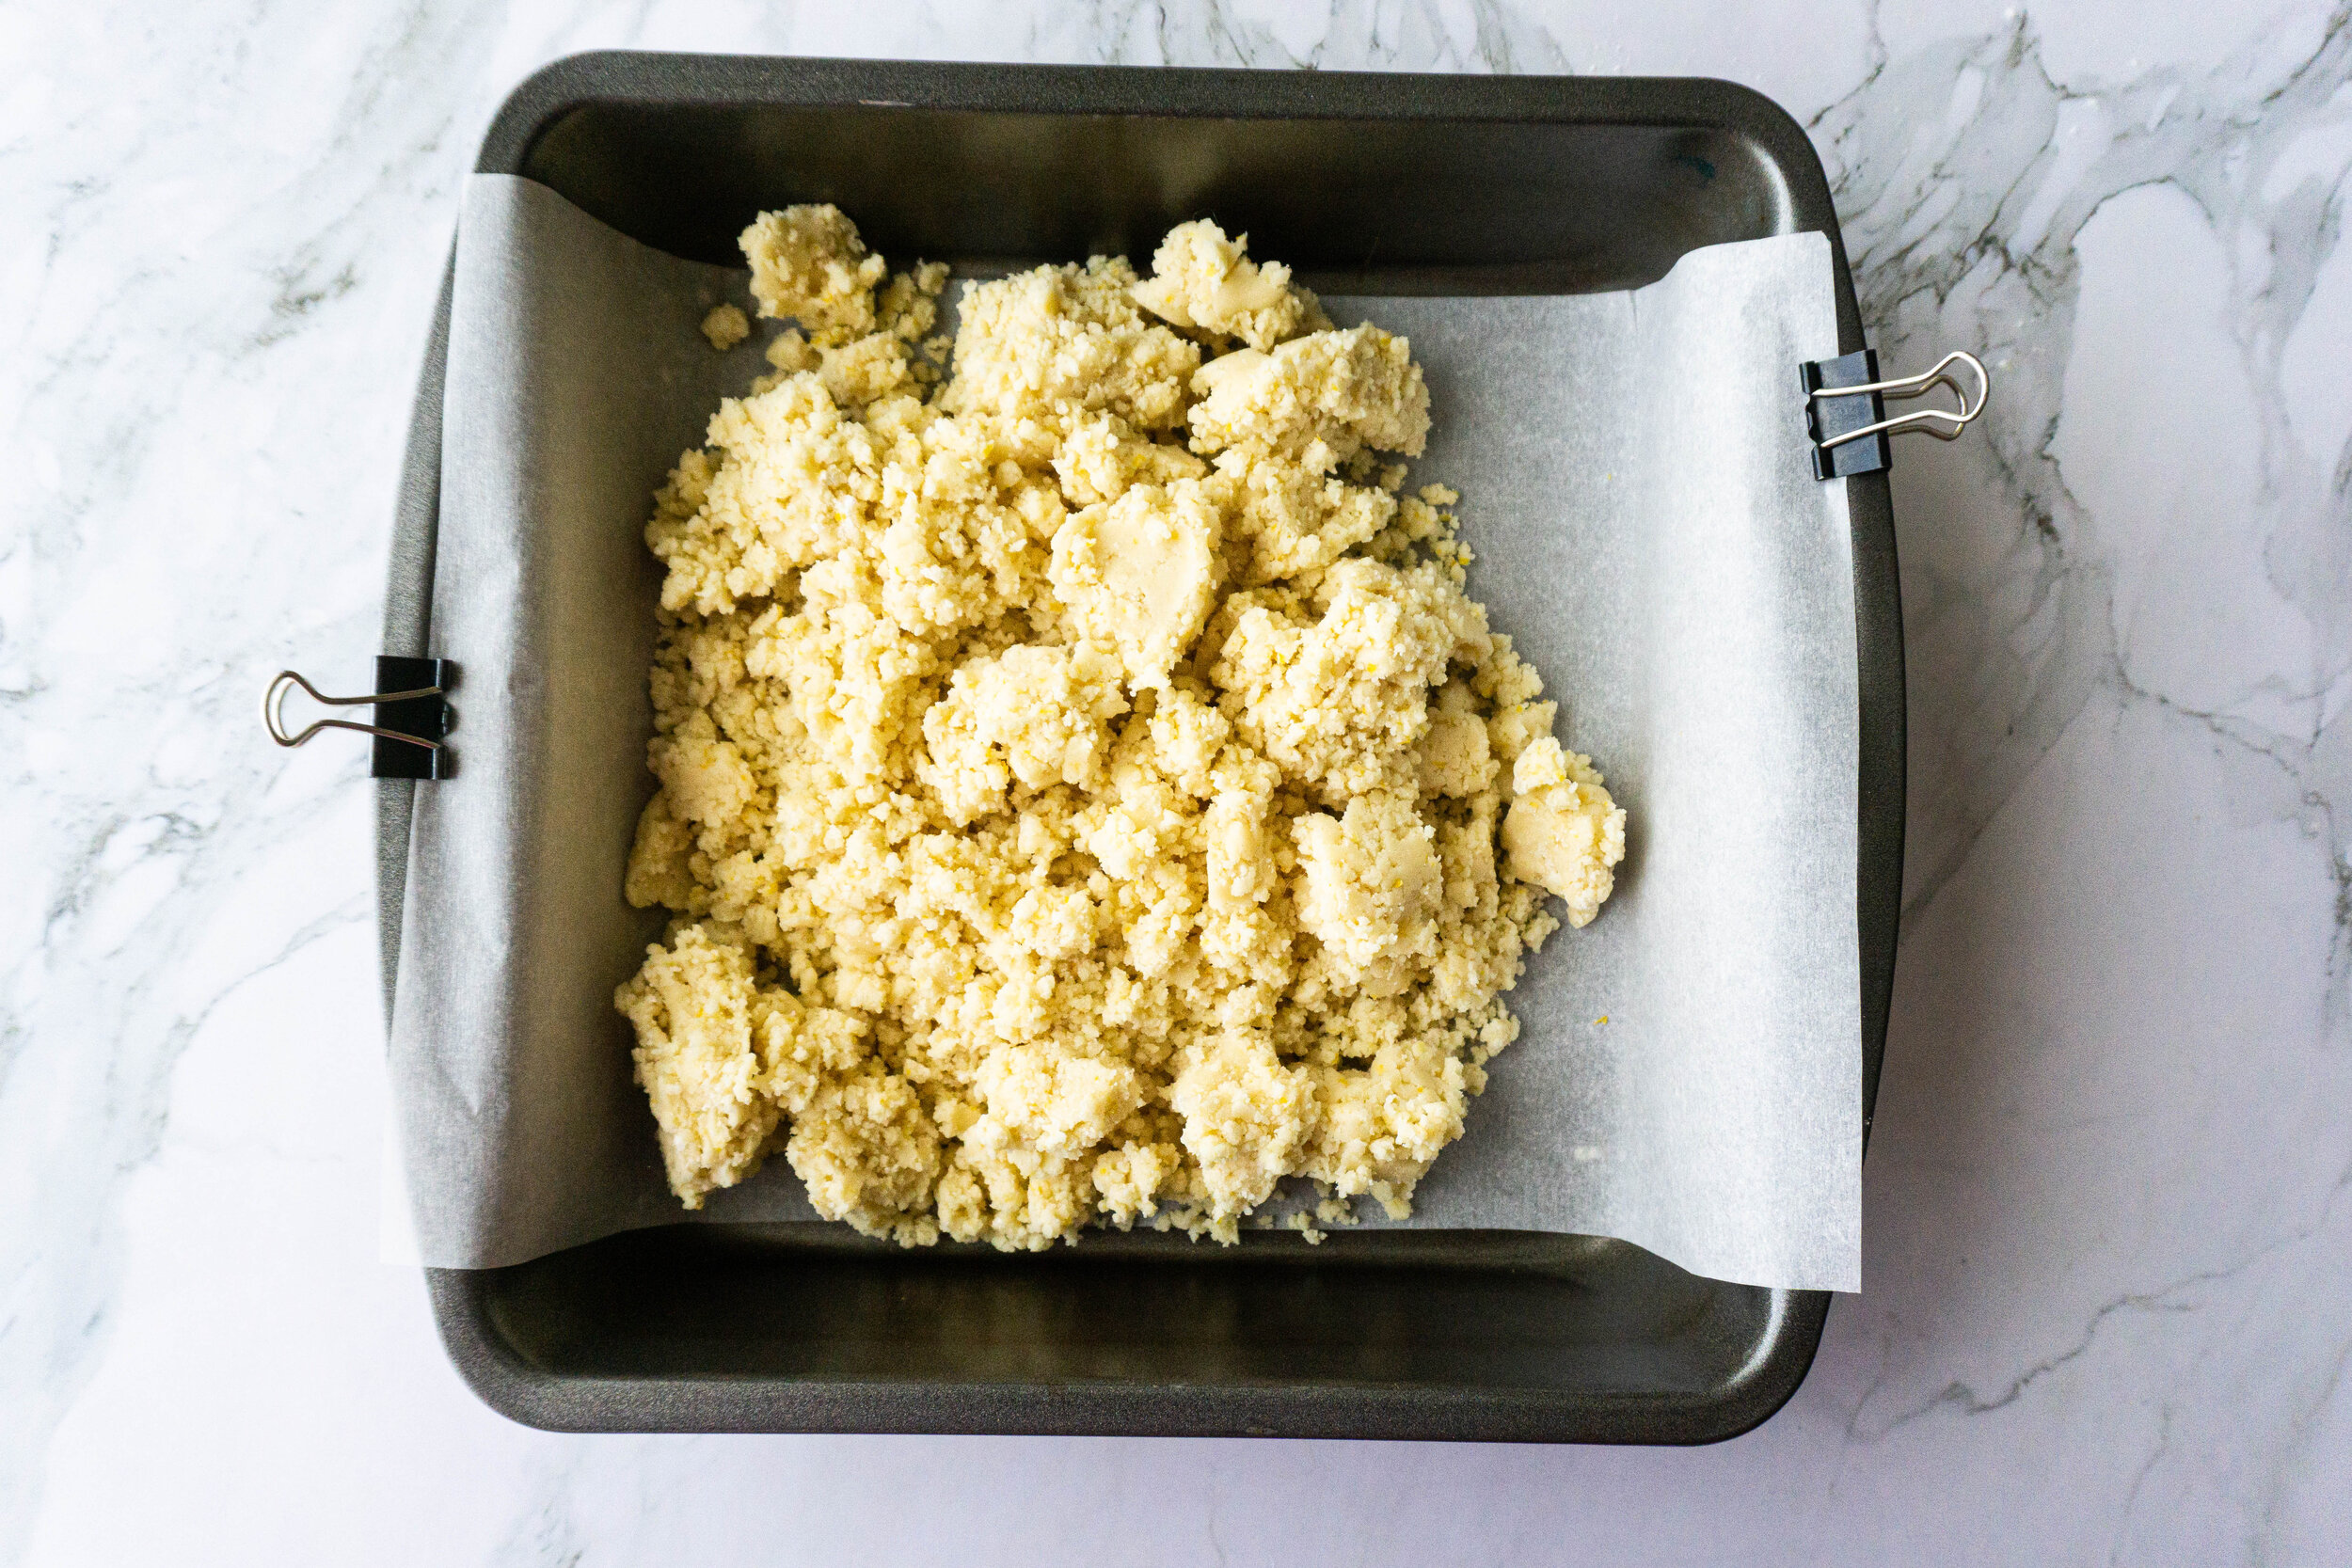
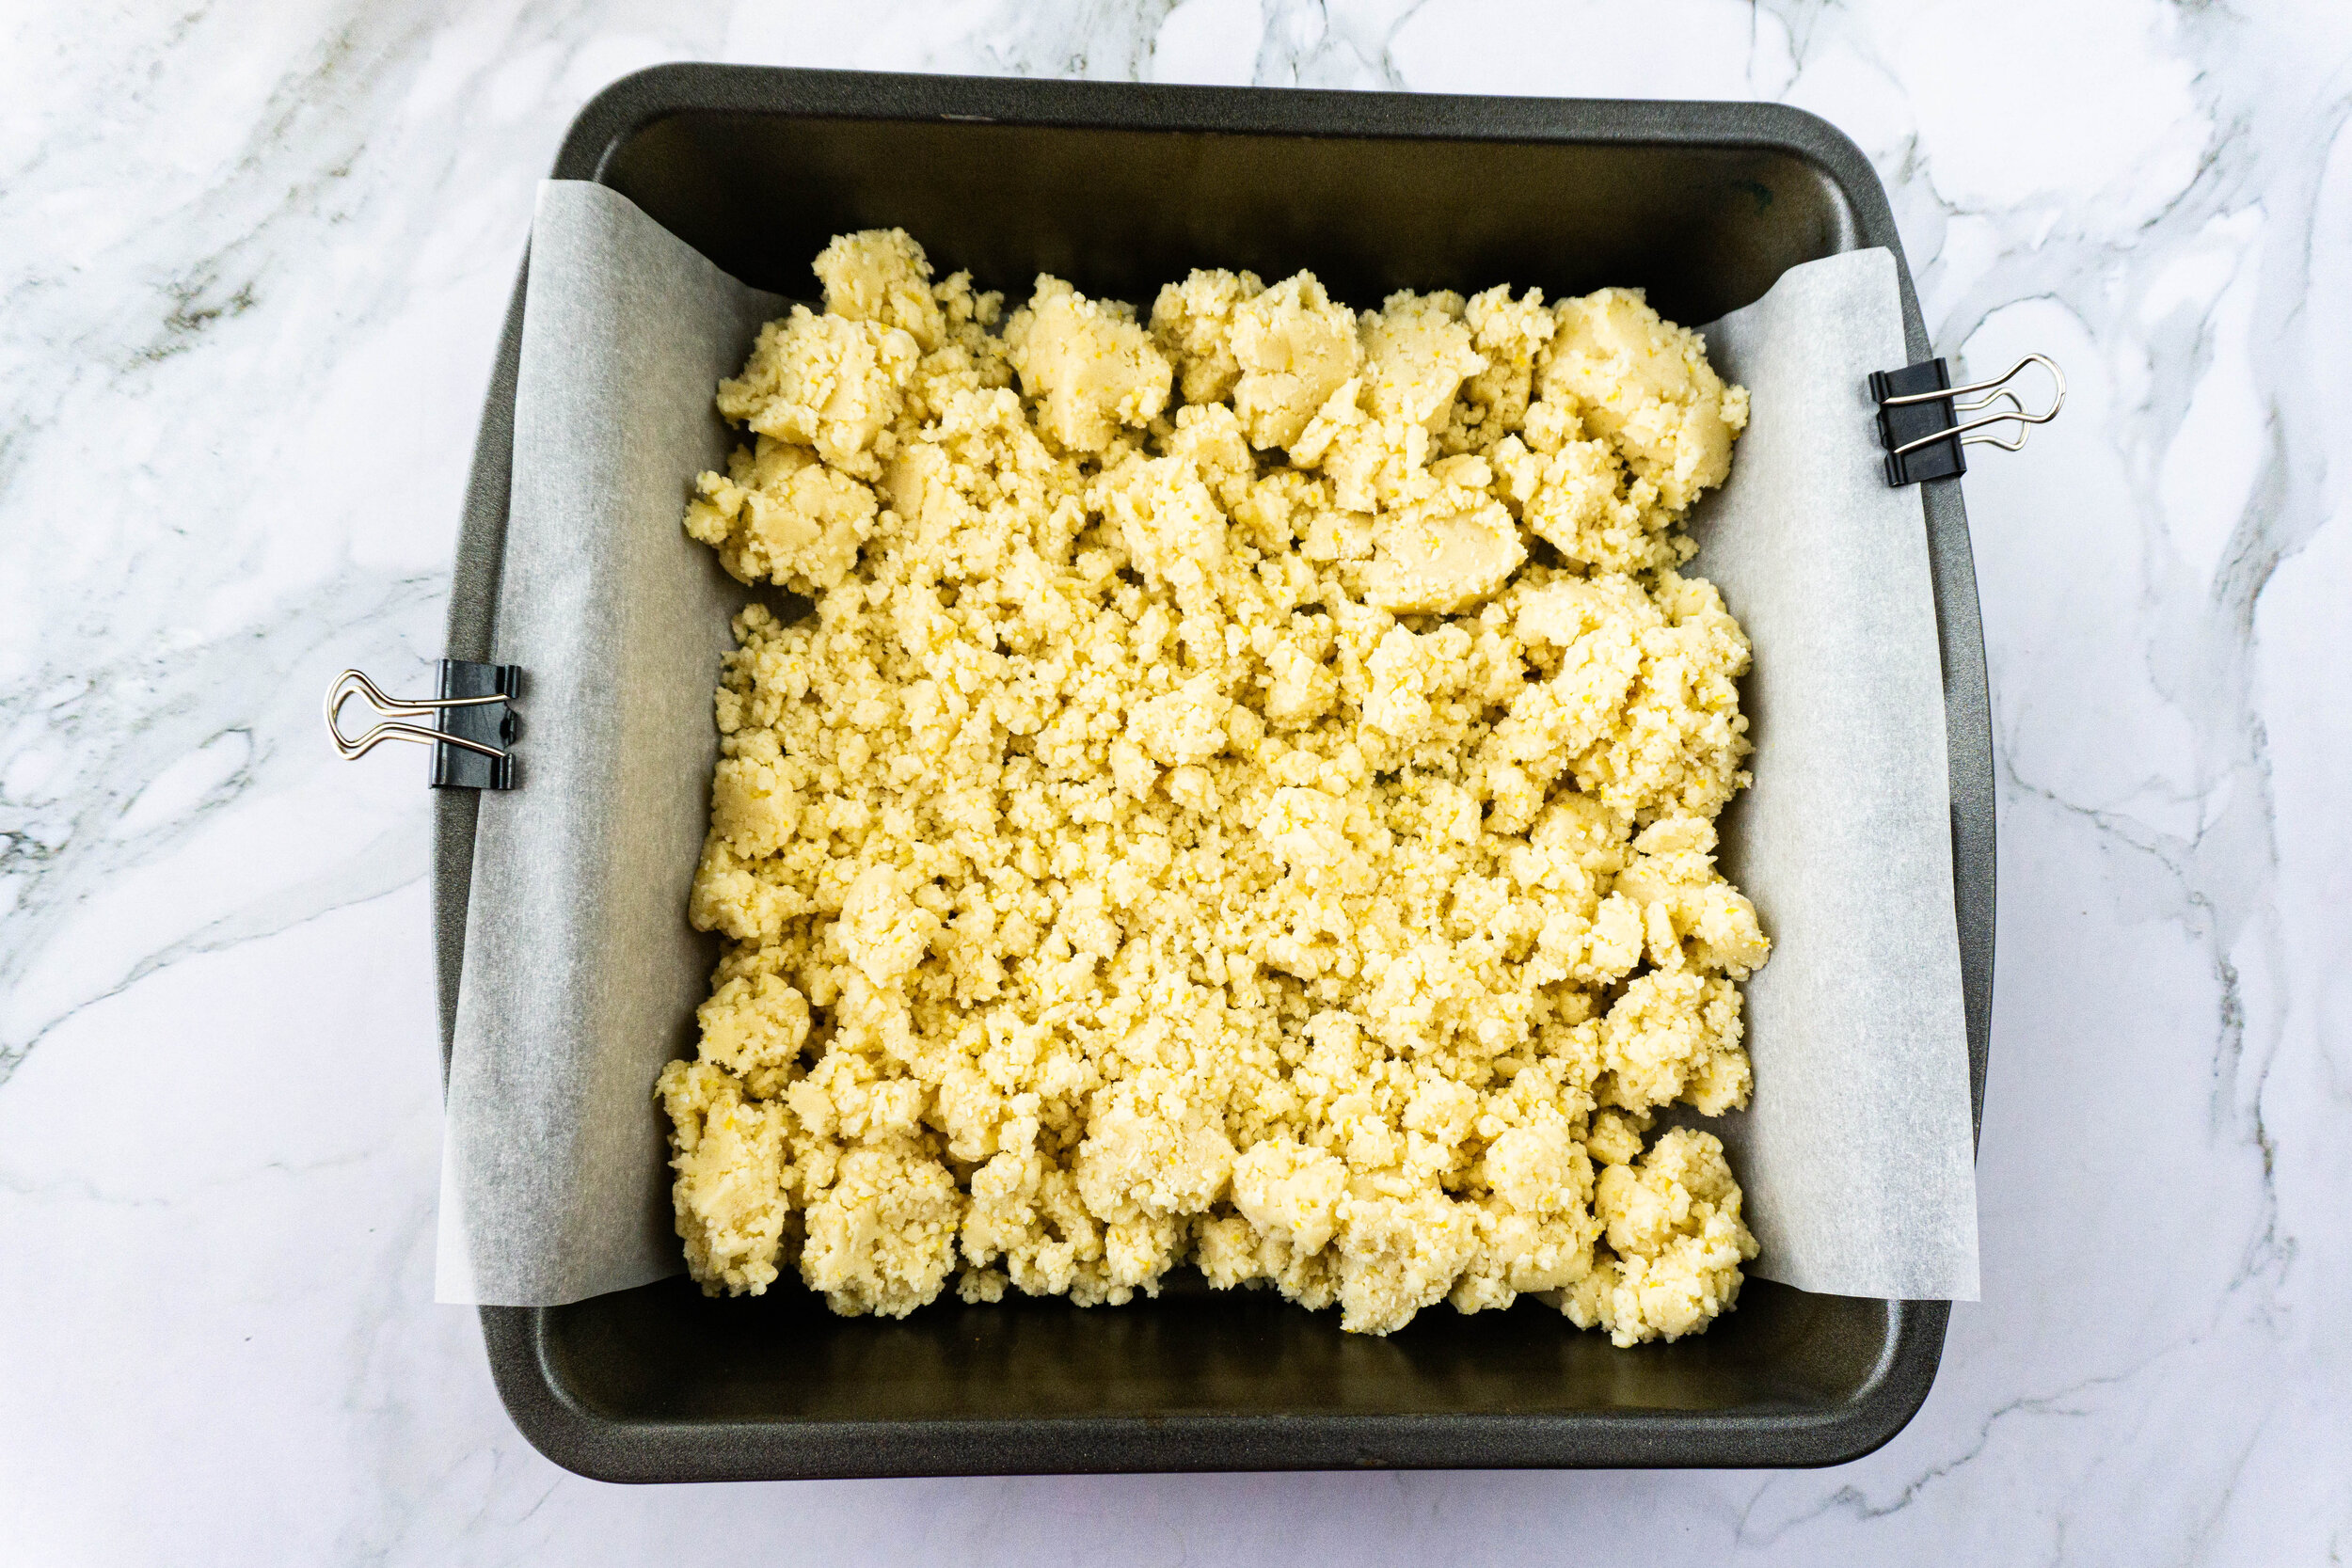
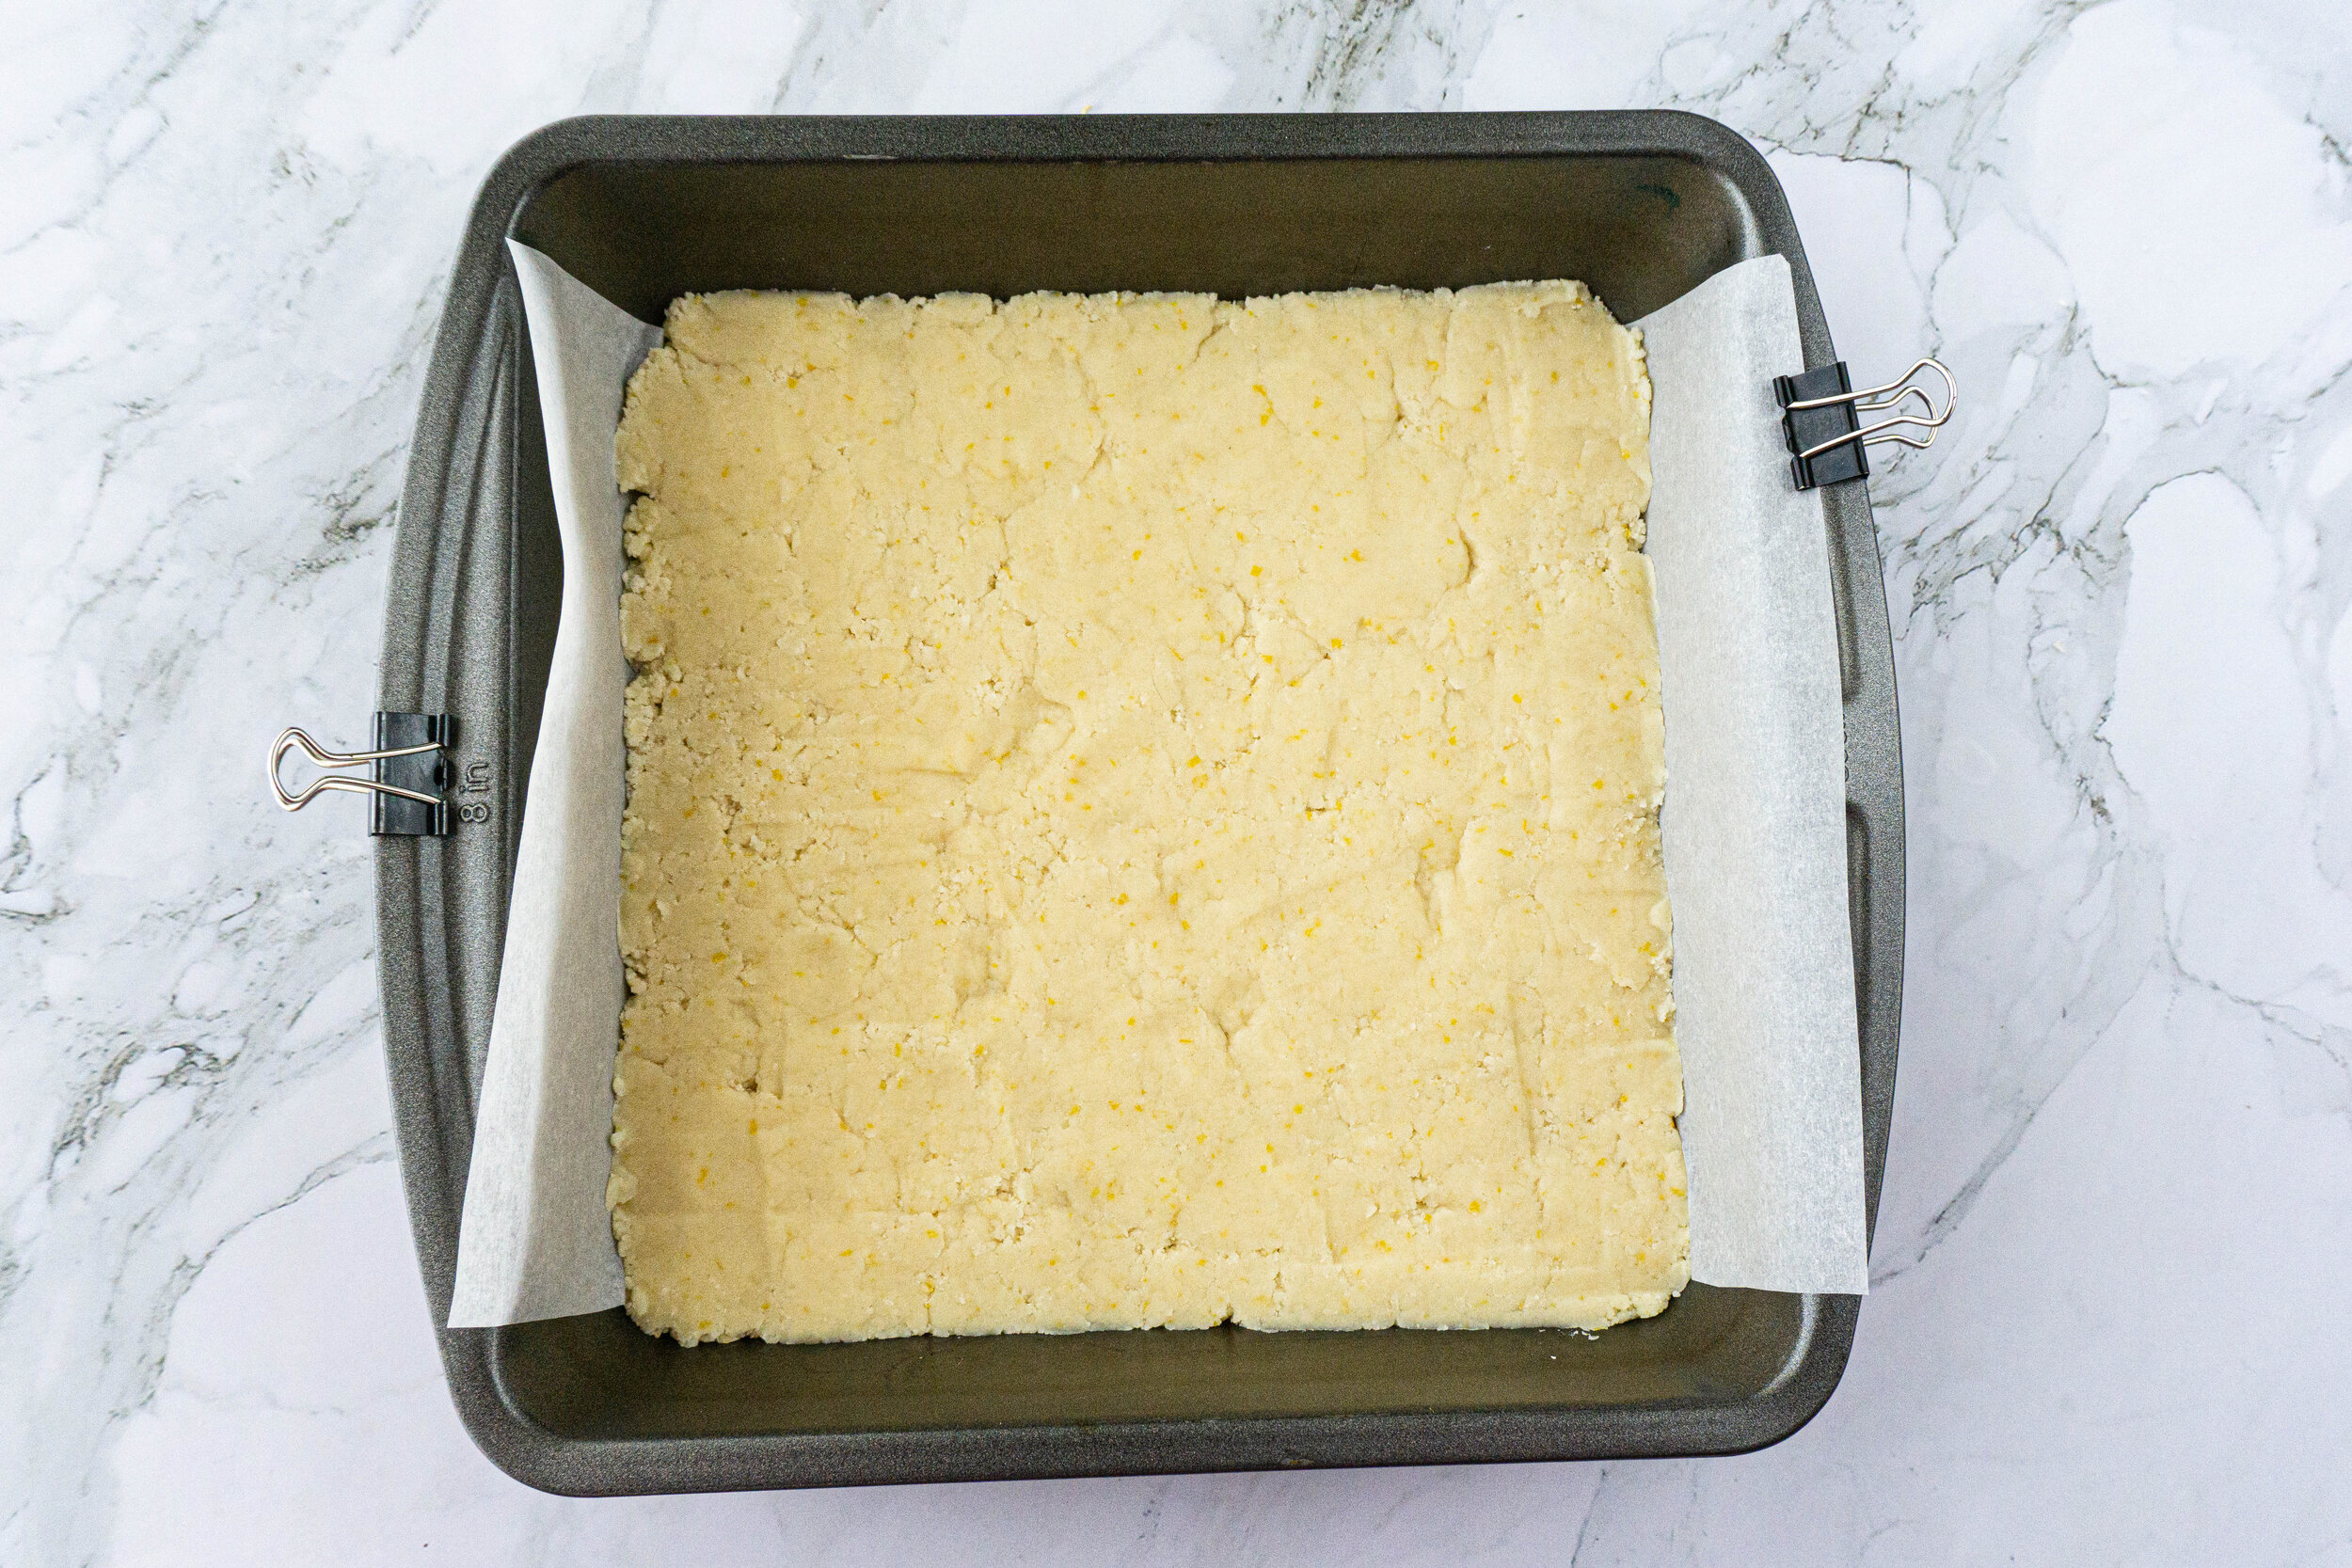
In the bowl of a food processor combine flour, powdered sugar, salt, lemon zest, and butter. Pulse the processor until a dry but pebbly meal forms; it’ll look a little bit like damp sand. Scatter the dough into the lined baking pan, then press the dough into an even layer using your finger tips or the bottom of a glass.
Bake the crust; it’s done when the crust is a pale gold and firm with just the slightest browning along the edges or in small patches. Check for doneness at 25 minutes, it may take closer to 30 depending on your oven.
Make the custard:
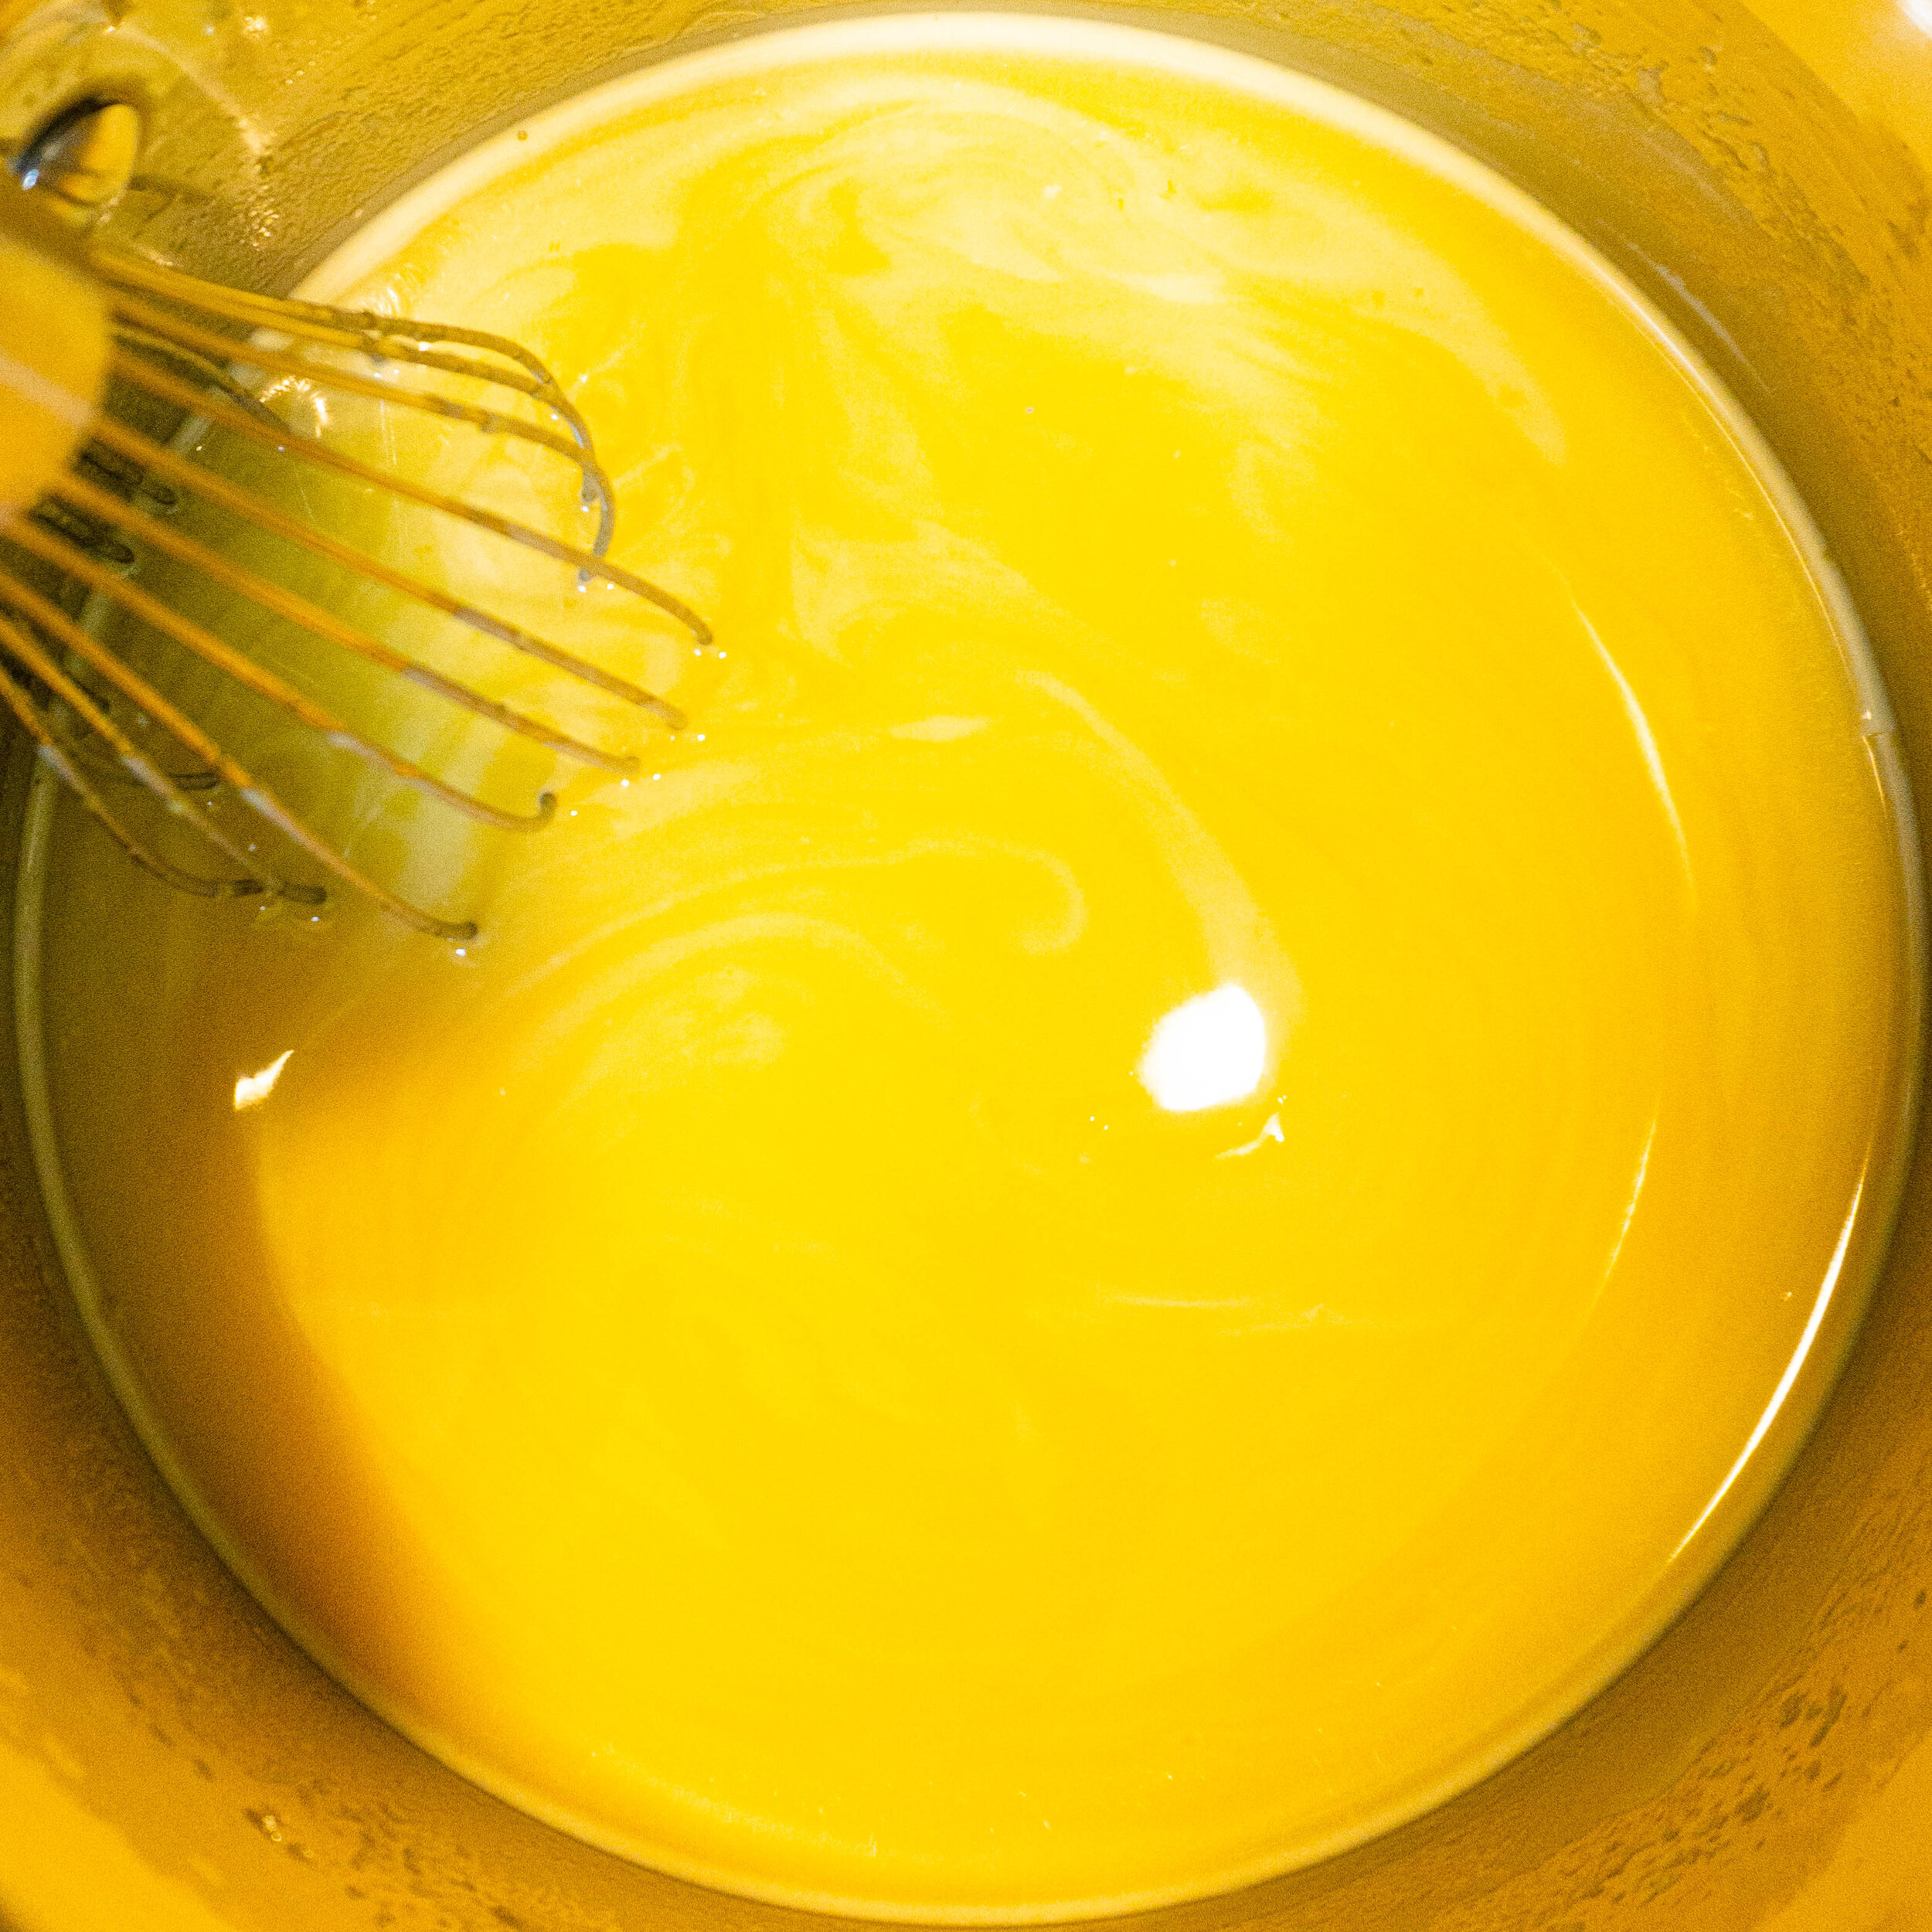
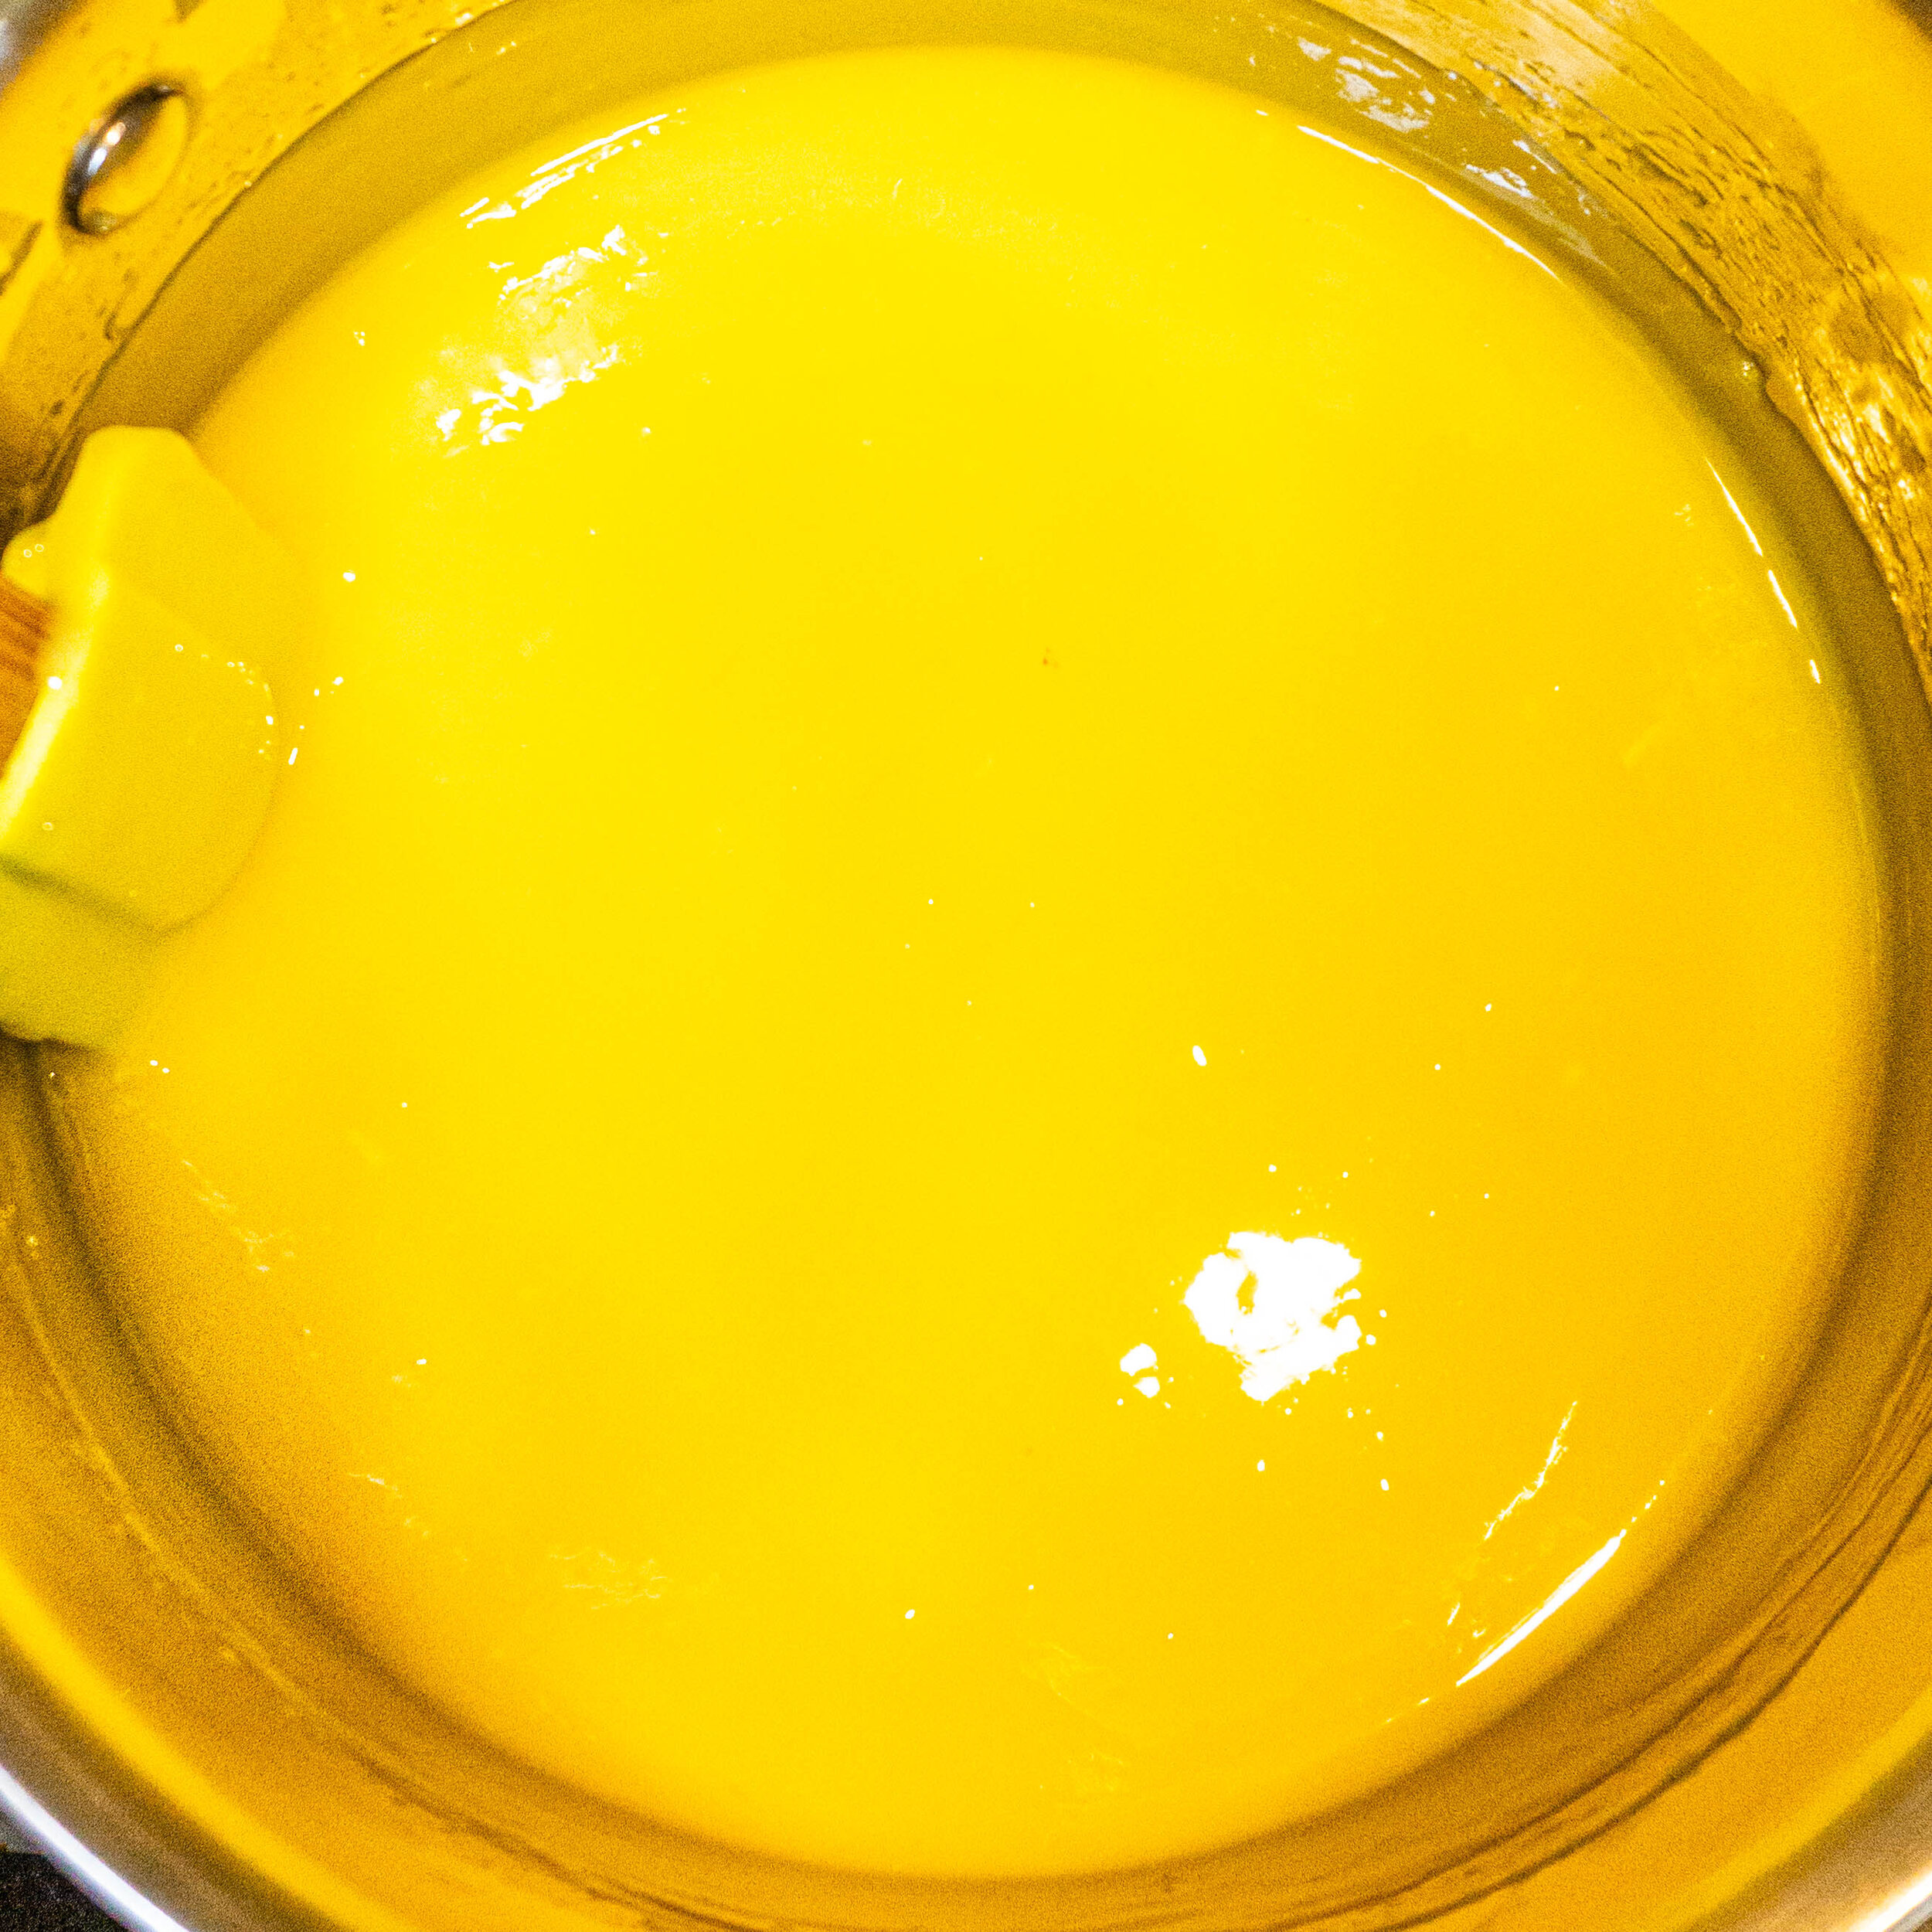
Combine whole eggs, yolks, sugar, salt, and lemon zest in a medium saucepan, then whisk in lemon juice. Cook over low heat, stirring constantly and gently, until warm to the touch, about 3 minutes. Increase heat to medium-low and continue cooking and stirring until the custard becomes thick and steaming-hot (170°F if you have an instant-read thermometer), about 8-10 minutes.
Strain the custard through a sieve directly over the crust (🎩Strain-ger Things). Smooth the custard into an even layer, then cover the pan with foil. Bake until the filling is smooth and firm, about 10 minutes.
Remove foil, then allow the lemon bars to cool on the counter to room temperature (🎩Crack Attack). Re-cover with foil and refrigerate until cold and firm, at least 1 hour.
Garnish and serve:
Loosen the lemon bars from the sides of the pan with a knife, then using the flaps of parchment paper, lift the bars out of the pan and transfer to a cutting board. Cut into squares with a sharp knife (🎩Clean Cut).
Serve the bars plain, lightly dusted with powdered sugar, or topped with whipped cream. Leftovers can be stored for up to 1 week in an airtight container either room temperature or in the refrigerator.
Enjoy!
Hot Tips 🔥
FLOUR POLICE — It’s important to properly measure the flour for this recipe. Too much flour will make the crust dry and dense. For the most accurate measurements, a kitchen scale is preferable. But if measuring by hand, check out this tutorial on the most accurate way to measure.
SERIOUSLY SALTY — The size of the salt crystals impact how much salt to use; the finer the crystal, the less of it you will need because it is denser. Think of the salt crystals like pouring marbles or sand into a cup. The sand, like table salt, has fine grains that fit tightly together. However, marbles, like kosher salt, form empty space where the pieces don’t fit. So the bigger the crystals the more space is “lost”. Ultimately you need more coarse salt to get the same saltiness as finer grains.
GOLD DIGGER — When zesting lemons you just want the yellow part of the peel. Avoid including the white part because it’s bitter! The best way to zest a lemon is with a microplane, but you could also use the smallest holes of a box grater if you’re careful not to grate too deeply. If you have neither of these, use a sharp knife or vegetable peeler to remove just the outer layer of the lemon peel, then mince the strips finely.
SWEET OR SOUR — This recipe produces lemon bars with zing. If you prefer your bars with less tang, taste the uncooked custard mixture; you may add up to an additional ¼ cup sugar.
FUN FACT —A “pinch” is technically 1/16 of a teaspoon!
PACK A PUNCH — Lemons vary in acidity and tartness. For more punch choose eureka lemons, the kind you normally find at the grocery store. For a sweeter experience, Meyer lemons should be your choice.
Tricks 🎩
TIME WARP — You can use the crust hot out of the oven or at room temperature. This means you have the option to either make the custard while the crust is baking, or make the crust up to two days in advance. If making in advance, once baked, cool the crust on the counter until it’s room temperature, then wrap it tightly with plastic wrap or foil. Use within 48 hours of baking.
MATERIAL MATTERS — A metal pan would be preferable to a glass one. Glass heats slowly which results in over-cooked edges and undercooked centers. Also light-colored pans, like anodized aluminum, are superior in this case to dark and heavy metal pans. Light-colored metals transfers heat quickly, evenly, and don’t retain heat well. This means the entire crust will remain relatively pale rather than forming a dark crust where the dough meets the pan.
STRAIN-GER THINGS — While not entirely necessary, straining the custard produces a silky smooth filling. Left unstrained you risk lumps and zest specks in your filling.
CRACK ATTACK — Refrigeration is required to fully set the lemon custard, otherwise the custard may be runny. But beware, if you move hot custard into a cold refrigerator, the custard will crack due to the sudden temperature change. To prevent cracks, allow the lemon bars to fully cool to room temperature before transferring to the refrigerator.
CLEAN CUT — For the cleanest cuts, use a non-serrated knife, like a chefs knife, and rinse or wipe the knife clean between after each cut.